
Test for moisture, strip every contaminant, mechanically profile to the correct surface roughness, repair the slab, prime where needed, then let it dry properly. That sequence is what stands between a sealer that lasts a decade and one that blisters within months. Skip the moisture test or rush the profiling step, and you’re gambling with a coating job that can cost more to redo than it did to install.
TL;DR:
- Moisture testing with in-situ probes must be done at multiple points and left to equilibrate for 72 hours, with readings below 75% RH indicating readiness.
- Mechanical profiling should match the coating’s required surface roughness, typically CSP 3 for thicker layers, using methods like shot blasting or grinding accordingly.
- Proper removal of oil and grease requires degreasing followed by water washing, as grinding alone pushes contaminants deeper rather than removing them.
- Repair of cracks and slab leveling must be completed and fully cured before sealing, with small test patches used to verify compatibility and adhesion.
- Professional cleaning and preparation are advisable for heavily contaminated floors, especially with widespread oil or grease, to ensure a smooth, contaminant-free surface for sealing.
Table of Contents
- Warehouse floor sealer prep checklist for site crews
- How do you check slab condition and moisture before sealing?
- Removing oil, grease and wax before profiling
- Which mechanical profiling method matches your sealer?
- Repairing cracks and levelling the slab before coating
- Final priming, cleaning and inspection before sealer goes down
- How long should warehouse floor sealing preparation take?
- Mistakes that cause sealer failure and how to avoid them
- When it makes sense to bring in a professional cleaning crew
- Technical standards and manufacturer guidance worth checking
- Sources
Warehouse floor sealer prep checklist for site crews
Print this before the first grinder starts.
- Clear the work zone, isolate it with barriers, and post safety signage for dust and noise.
- Sweep and vacuum the slab to remove loose debris and grit.
- Degrease any oil, fuel, or hydraulic fluid stains before mechanical work begins.
- Book moisture testing and mechanical profiling as separate, sequenced trades.
- Record every test result, photograph defects, and get written sign-off before sealer goes down.
Skipping step five is where most disputes start. If a coating fails and there’s no paper trail showing the slab passed moisture and profile checks, the applicator wears the blame, whether it was their fault or not.
How do you check slab condition and moisture before sealing?
Start with your eyes before you start with instruments. Walk the entire floor and mark every crack, spall, delaminated patch, and any old coating or adhesive residue that needs removing. A slab riddled with hairline cracking or old glue residue from a previous tile installation will telegraph straight through a new sealer if it’s not addressed first.
Moisture is the part crews get wrong most often, mainly because it’s invisible. AS1884-2012 sets the accepted method: in-situ relative humidity probes inserted to 40% of the slab’s depth, left to equilibrate for 72 hours. A reading above 75% RH means the slab is still too damp for most impervious coatings without a moisture barrier.
- Test at multiple points across large slabs, not just one, and prioritise areas near loading docks, wet processes, or thick pours where moisture tends to concentrate.
- New concrete usually needs a longer wait before testing at all. Rushing a green slab straight into sealing is a common cause of early failure.
- Where readings stay high and the schedule can’t wait, a short-term moisture-control primer or barrier system may bridge the gap.
Removing oil, grease and wax before profiling
Grinding or shot blasting over an oily patch doesn’t remove the contamination. It just drives it deeper into the pores, where it resurfaces later as an adhesion failure under the new coating. Degrease first, always.
- Apply an industrial degreaser suited to the contaminant, dwell per the product’s instructions, then agitate mechanically rather than relying on the chemical alone.
- Follow with controlled hot or cold water pressure washing, working from the edges of the stain inward so you’re not spreading it further.
- Confirm the surface is clean with a simple water break test or a solvent wipe on a white cloth. If the cloth picks up colour or residue, go again.
- For heavy or widespread contamination (old workshop floors, forklift refuelling bays), specialist equipment and experienced operators usually get a cleaner result faster than a site crew working it by hand.
Pro Tip: Never chase an oil stain with more water pressure alone. High pressure on a saturated slab pushes contaminants sideways into the surrounding pores instead of lifting them out. Degrease, dwell, then wash.
Persistent grease across a large floor area is exactly the scenario worth pulling in outside help. Guidance on removing grease and oil in a warehouse covers the practical side of this step in more detail.
Which mechanical profiling method matches your sealer?
Every sealer and resinous coating has a surface roughness it needs to bond properly, described in the industry as a Concrete Surface Profile (CSP). Get the profile wrong and even a perfectly clean, dry slab will delaminate.
ARDEX technical guidance sets a target surface roughness of 0.075 to 0.150 millimetres for most coating systems, roughly a CSP 3 profile. High-pressure water blasting up to around 25 to 28 MPa can open the pores of lower-strength concrete, but slabs above 35 MPa compressive strength usually need mechanical abrasion instead, since water alone won’t cut it.
| Method | Typical CSP range | Best suited to |
|---|---|---|
| Grinding | CSP 1 to 3 | Thin-film coatings, light surface prep |
| Shot blasting | CSP 3 | Thicker coatings, moderate contamination |
| Scarifying | Higher removal rates | Heavy contamination, thick overlay removal |
| High-pressure water blasting | Up to CSP 3 on lower-strength slabs | Concrete under roughly 35 MPa |
- Match the method to both the substrate strength and the coating manufacturer’s stated CSP requirement, not just whichever machine is available.
- Choosing mechanical preparation over acid etching is standard advice for bond-critical industrial jobs. Acid etching is inconsistent and doesn’t remove contamination the way grinding or blasting does.
- Run M or H-class vacuums attached to every grinder and blaster, and fit crews with appropriate respiratory PPE. Respirable silica dust from dry grinding is a genuine health hazard, not a formality.
Most of this equipment, along with the extraction gear that goes with it, is available through general hire companies for teams handling smaller jobs in house.
Repairing cracks and levelling the slab before coating
A sealer will not hide a bad crack. It will highlight it, usually within the first few months of traffic.
- V-groove and grout any active cracks before levelling, and cut back spalled concrete to sound material rather than skimming over it.
- Ardex levelling guidance recommends specific levelling compounds matched to the coating system, with cure times that vary by product and slab conditions. Rushing this step before the compound has fully cured is a common cause of soft spots under resinous coatings.
- For structural cracking or extensive joint repair, specialist concrete cutting and repair contractors, such as Vic Sawing’s concrete drilling and restoration services, handle the corrective work more reliably than a general maintenance crew.
- Always run a small test patch with your chosen levelling compound and primer combination before committing the whole floor. It’s a cheap way to catch a compatibility problem before it becomes an expensive one.
Joint layout and flatness matter here too. The CCAA’s industrial floors guide is worth a look if your slab has active joints that need sealing before coating goes down.
Final priming, cleaning and inspection before sealer goes down
Priming is where moisture control and mechanical prep meet. If your RH readings came back high, a moisture-control primer such as ARDEX P 51 buys you a workable window, but it needs its full dry time before anything goes over the top.
- Vacuum the entire floor with an M-class unit, then tack-wipe to lift the last of the fine dust that sweeping alone leaves behind.
- Check ambient temperature, slab temperature, and humidity against the sealer manufacturer’s application range before mixing anything.
- File your moisture results, CSP confirmation, and repair records together. It’s the difference between a warranty claim and a blame game later.
How long should warehouse floor sealing preparation take?
Build the schedule around the slowest step, not the fastest.
- Moisture testing alone needs a 72-hour dwell once probes are inserted, and new concrete typically wants a 28-day cure before testing unless the manufacturer states otherwise.
- Levelling compounds and primers each carry their own cure and dwell windows. High humidity or low temperatures stretch these out further.
- Stage the work in sections where the warehouse stays operational, so one bay cures while another gets ground back. It costs more in labour coordination but far less in downtime.
Mistakes that cause sealer failure and how to avoid them
Acid etching still gets used on industrial floors, and it still underperforms mechanical profiling for bond strength and consistency. Sweeping isn’t dust control either. It moves fine particulate around without removing it, which is exactly the residue that stops a sealer penetrating.
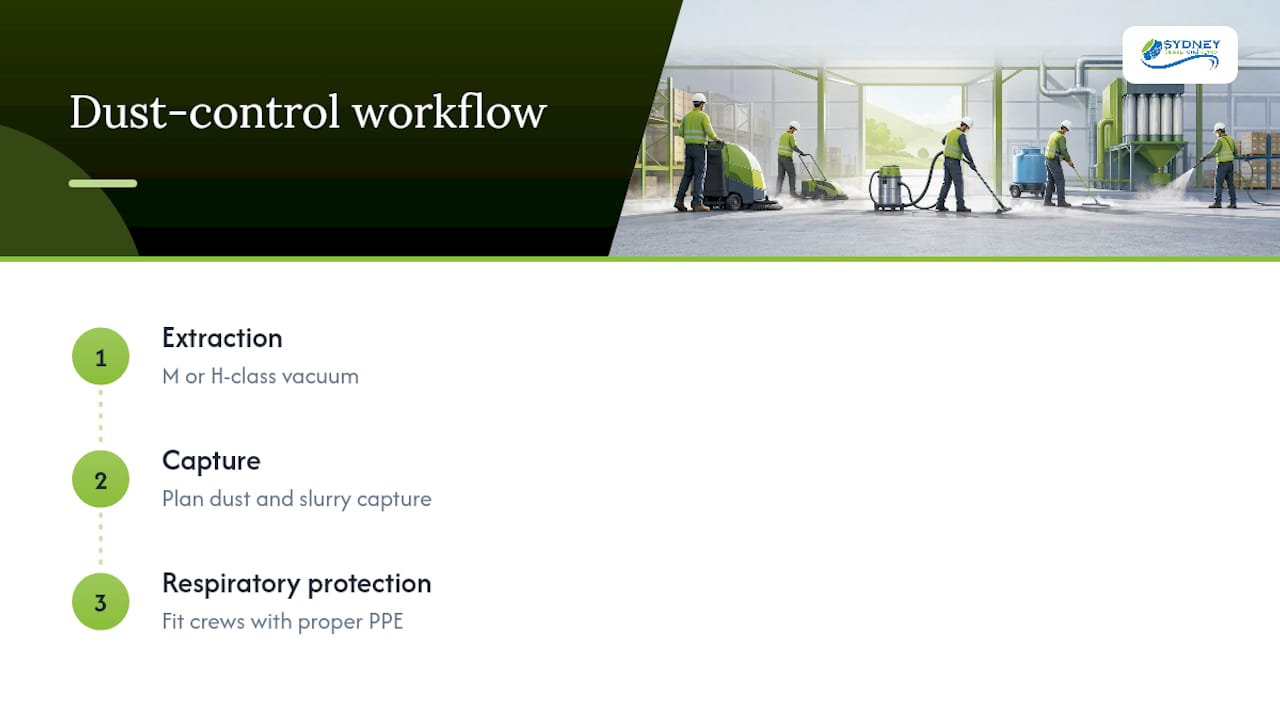
Run M or H-class extraction on every grinding or blasting pass, plan for dust and slurry capture from shot blasting, and fit crews with proper respiratory protection.
Pro Tip: Before committing to a full floor, run two or three small adhesion test patches with your final primer and sealer combination, then record how each one performs after a week. It’s the cheapest insurance you’ll buy on the whole job.
When it makes sense to bring in a professional cleaning crew
Some warehouse floors need more than a broom and a rented pressure washer, and there’s no shame in recognising when a job has outgrown an in-house crew. Mechanical sweeping, scrubbing, and hot-water pressure washing built specifically for large commercial floors, with the dust control and degreasing capacity that a warehouse-scale prep job demands, is available.
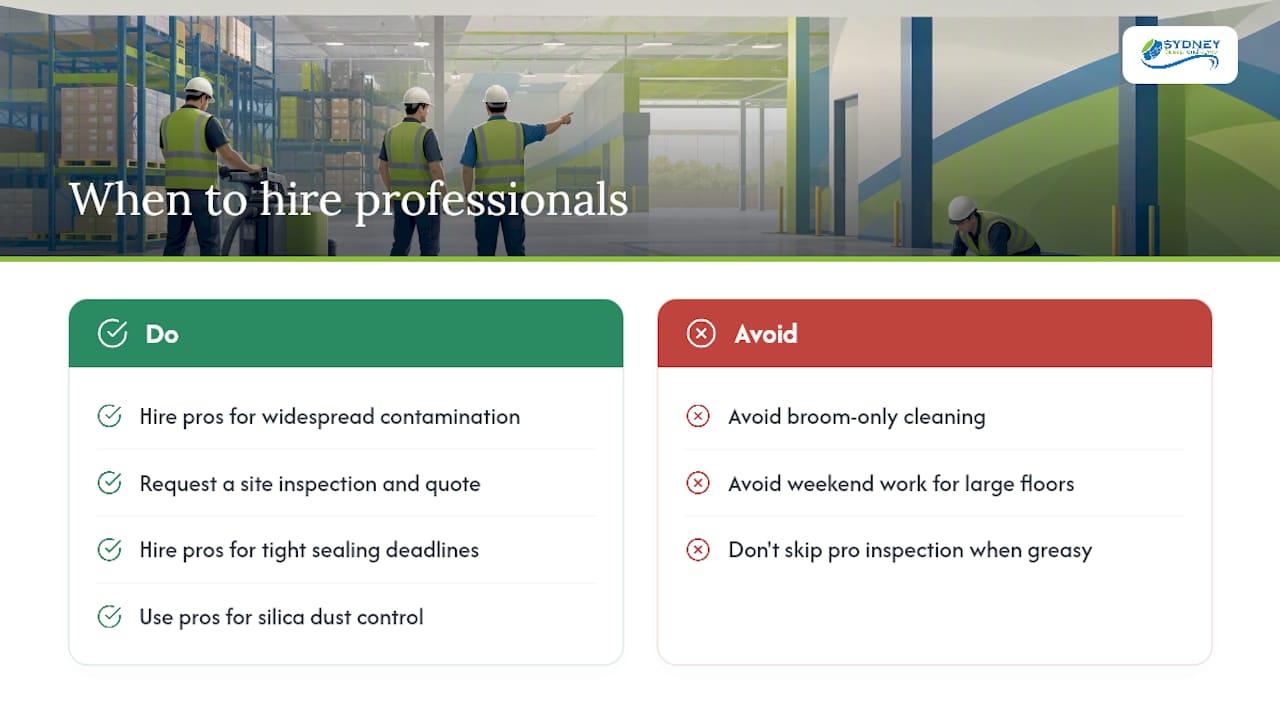
Reach for professional help when contamination is widespread rather than a few isolated patches, when the coating schedule is tight and there’s no room for a redo, or when silica dust control needs equipment your team doesn’t own. Extensive oil staining across a working forklift bay, for instance, usually comes off faster and cleaner with commercial-grade hot water equipment than with a site crew working degreaser by hand. It’s also worth reading why a professional scrub often outperforms an in-house effort before you decide which way to go.
If your floor has heavy grease, a tight sealing deadline, or a footprint too large for a weekend job, request a site inspection and quote through Sweepandscrub’s pressure washing service page before you book the sealer contractor.
Technical standards and manufacturer guidance worth checking
For exact moisture test procedure, refer to AS1884-2012 guidance. For levelling products, cure times, and primer specs, consult Ardex’s technical bulletins. For joint design and slab flatness standards, the CCAA’s industrial floors guide covers the construction side.
Sources
- Concrete moisture testing guidance (AS1884 context) — NLR
- Concrete surface preparation technical bulletin — ARDEX Australia
- Concrete subfloor preparation — Concrete Colour Systems