
Sweep first, rinse second, then match the cleaner to the stain and the paver material, saving pressure washing for when it’s genuinely needed. A deep clean once or twice yearly, always done with a patch test before full application, helps keep most driveways and courtyards looking good without damage. Refill joints and reseal afterwards as part of proper upkeep, not as an afterthought.
TL;DR:
- Use a sequence of sweeping, rinsing, and targeted cleaning to avoid damaging sealer or dislodging joint sand when maintaining pavers.
- Oxygen bleach is effective and gentle on most concrete and brick, but avoid acids on natural stone to prevent etching or discoloration.
- Pressure washing requires a wide fan nozzle, low pressure, and should be performed from the bottom of slopes upward to prevent resettling dirt.
- Regular maintenance includes weekly sweeping, seasonal rinsing, and resealing every five to twelve years, depending on conditions and product used.
- Professional cleaning services use controlled hot-water pressure washing, runoff management, and equipment suited for large or stubborn stains, ensuring a safer and more durable finish.
Table of Contents
- Quick paver cleaning methods you can try today
- A step-by-step workflow for cleaning a full paved area
- How to treat specific paver stains without damaging the surface
- When pressure washing pavers helps, and when it doesn’t
- Building a paver maintenance schedule that actually works
- Tools and products worth having on hand
- Staying safe and protecting the garden around you
- What professional paver cleaners do differently
- Get a professional result without the guesswork
- Sources
Quick paver cleaning methods you can try today
Most grime on pavers doesn’t need a chemical arsenal. A sweep and hose rinse handles day-to-day dust and leaf litter, and it’s the step most people skip before reaching for something stronger. For light oily marks from barbecues or bike chains, warm water, a squeeze of dish soap and a stiff plastic brush usually do the job.
Algae and mould respond well to an oxygen bleach soak, which works gently on most concrete and brick. Test it on a hidden spot first if you’re dealing with natural stone, since porous types react differently.
If oil is still fresh, don’t reach for a degreaser straight away.
- Cover the spill with cat litter or baking soda and let it absorb overnight before cleaning
- Use warm soapy water and a plastic brush for light grease and food stains
- Soak algae or mould patches in an oxygen bleach solution rather than chlorine
- Skip vinegar and muriatic acid on natural stone. They can etch or discolour the surface permanently
Soda crystals dissolved in hot water are a reliable, low-cost option for general dirt removal on domestic paving, according to STIHL Australia, and they cost a fraction of specialty paver cleaners.
A step-by-step workflow for cleaning a full paved area
Rushing straight to the hose is how most people end up with patchy results or a damaged sealer. A proper clean follows a sequence, and skipping steps is where things go wrong.
- Prepare the site. Move furniture and pot plants, protect garden beds you want to keep dry, switch off irrigation, and check which way the surface slopes so you know where runoff will head.
- Sweep thoroughly. Clear loose debris and inspect the joints and surface for stains, cracks or loose sand. Mark the trouble spots so you don’t lose track of them once the surface is wet.
- Patch test. Apply any cleaner to a small, hidden section first, then wait until it’s fully dry before judging the result. Some products react with existing sealers or certain stone types in ways you won’t see while the surface is still wet.
- Work in sections. Apply cleaner to roughly one or two square metres at a time, agitate with a brush suited to the material, then rinse before moving to the next patch.
- Finish and protect. Let the area dry fully, top up joints with polymeric sand if it’s washed thin, and hold off on sealing until the pavers have cured properly.
Small residential jobs rarely need mechanical equipment at all. A hand-applied cleaner, some scrubbing and a garden hose rinse are often enough, as Australian Paving Centre notes in its maintenance guidance for homeowners.
Pro Tip: Work from the lowest point of the slope upward. Rinsing downhill first just pushes dirty water back over ground you’ve already cleaned, and you end up redoing sections without realising why.
How to treat specific paver stains without damaging the surface
Different stains need different chemistry, and using the wrong product on the wrong material is the most common way DIY cleaning goes sideways.
- Oil and grease: absorb what you can first, then degrease. For stains that have soaked in over months, a poultice (an absorbent paste left to draw the oil out over a day or two) works better than repeated scrubbing. Avoid WD-40. It can spread the stain rather than lift it.
- Rust: use an acid-free rust remover made for masonry. Muriatic acid will shift rust, but it’s harsh enough that it’s best left to a professional who can control concentration and runoff.
- Tannin and leaf stains: oxygenated cleaners or a mild diluted bleach solution work on concrete, but skip bleach entirely on softer or more porous natural stone.
- Algae and moss: an oxygen bleach soak followed by gentle scrubbing clears most growth. Improving sunlight exposure and drainage afterwards stops it coming back as fast, a point Australian Paving Centre makes about prevention mattering more than repeat cleaning.
- Paint and adhesive residue: try mechanical removal first, then a specialist stripper if needed. If the paver’s surface finish is already ruined underneath, replacement is sometimes the more sensible option.
- Efflorescence (that white, chalky bloom): dry brush the powder off first, then a light soapy scrub finishes the job. High pressure water is the wrong tool here. It can drive the salts deeper into the paver instead of removing them, a caution Australian Paving Centre raises specifically for this issue. Our own efflorescence removal guide walks through the process in more detail.
When pressure washing pavers helps, and when it doesn’t
Pressure washing pavers is a tool for specific jobs, not a default setting. Volume of water matters more than raw pressure for carrying grime away cleanly, and professionals lean on a low-pressure, wide fan tip held at a reasonable distance rather than blasting close range, a point echoed in Arrow Outdoor Living’s technique notes.
Porous natural stone and freshly laid pavers are the two situations to avoid altogether. Newly laid joints need time to set, and pressure washing before that happens can wash sand straight out from between the pavers.
- Use a wide fan tip, not a pinpoint nozzle, and keep the wand moving
- Work from the bottom of any slope upward so dirty runoff doesn’t resettle on clean ground
- Refill joint sand and reseal afterwards if the wash disturbed the joints
- Call a professional for large stained areas, awkward access, or when you’re not certain what the paver material actually is
Pro Tip: If you’re unsure whether your pavers can handle pressure washing at all, check the manufacturer’s rated PSI limit before you start. Guessing is how hairline cracks appear months later with no obvious cause.
Our guide on pressure washing with cold water covers PSI limits in more detail if you’re weighing up whether to hire equipment or book a professional.
Building a paver maintenance schedule that actually works
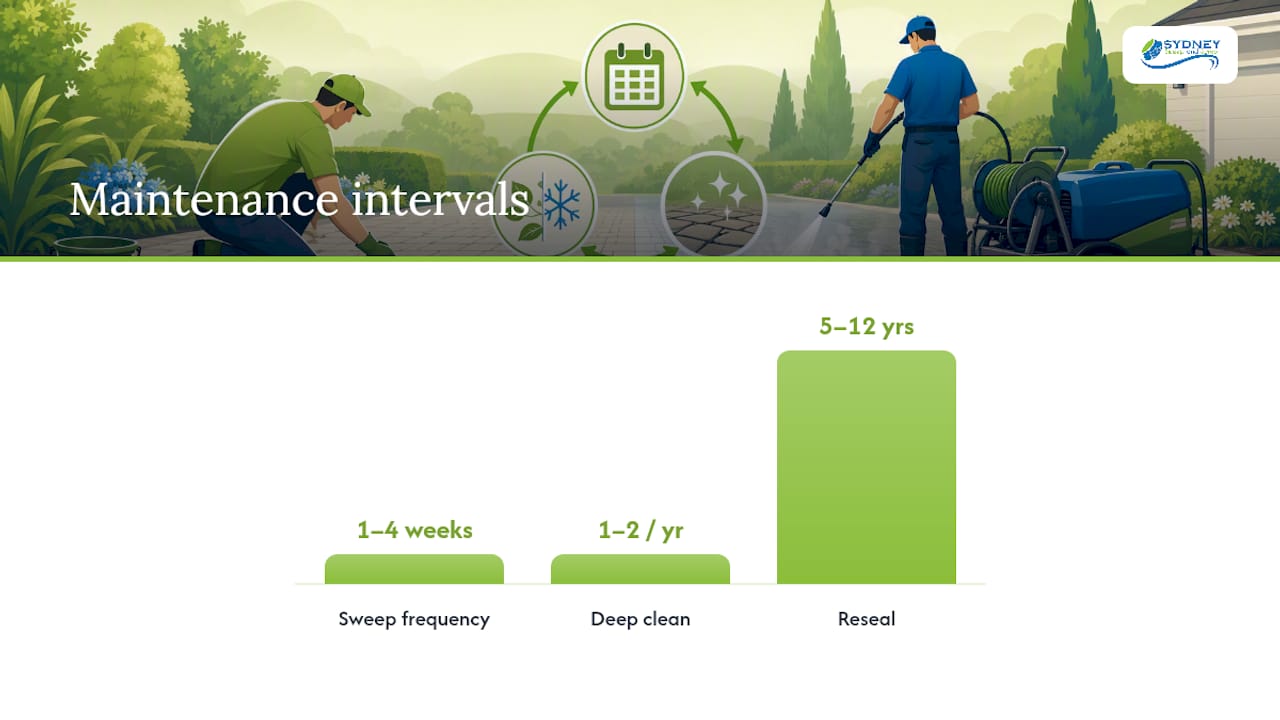
Regular sweeping, with frequency adjusted for foot traffic and nearby trees, keeps grit from grinding into the surface over time. Add a light seasonal rinse and most pavers stay in reasonable shape between deep cleans.
For the deeper clean, once a year is enough for most properties, rising to twice yearly for high-traffic areas or anywhere prone to moss and algae. Karcher Australia recommends timing this around spring, to clear winter moss and algae, and autumn, ahead of the leaf litter that follows summer.
- Sweep weekly to monthly based on traffic and surrounding vegetation
- Deep clean once or twice yearly depending on how exposed the area is, as recommended by experts.
- Reseal roughly every five to twelve years depending on the product used, always on a clean, fully dry surface, per Architecture & Design’s guidance
- Top up polymeric sand in joints whenever gaps start widening or weeds find a foothold
- Trim back nearby vegetation and correct drainage issues to cut down on algae and efflorescence at the source
Strong acid cleaners can permanently change a paver’s colour, which is one reason Mutual Materials’ industry guidelines point toward buffered, purpose-built products over generic acids for jobs like mortar or efflorescence removal.
Tools and products worth having on hand
Skip steel bristle brushes entirely. They shed tiny wire fragments that rust and leave orange spots on the very surface you’re trying to clean, so stick with brass or stiff plastic bristles instead.
Match the cleaner to the job: pH-neutral for routine washing, oxygen bleach for organic growth, a degreaser for oil, and an acid-free rust remover for metal stains on masonry. Oxygen-based cleaners are generally the safer first choice for algae and organic stains across most paver types, a preference several outdoor living guides share over harsher chlorine products.
- Cat litter, sawdust or baking soda for absorbing fresh spills before treatment
- A poultice mix for lifting stains that have already soaked in
- A wide fan tip nozzle if you’re pressure washing, plus the manufacturer’s rated PSI limit for your specific pavers
Staying safe and protecting the garden around you
Gloves and eye protection are non-negotiable whenever you’re handling bleach, degreasers or acid-based products, and closed shoes matter once you’re running a pressure washer.
Wet down nearby garden beds and lawn before cleaning starts, so runoff dilutes rather than pools and scorches plants. Acid or alkali cleaners should be neutralised before disposal wherever local guidelines require it, and pooled wastewater on hard surfaces should be swept toward garden beds or drains, not left to sit and stain further.
- Wear gloves, eye protection and closed footwear for any chemical or pressure washing job
- Pre-wet garden beds and lawn edges before applying cleaner nearby
- Neutralise acid or alkali runoff before it reaches stormwater drains where required
- Avoid letting cleaning wastewater pool on the surface for extended periods
What professional paver cleaners do differently
Large driveways, industrial stains, or sites where wastewater has to be managed properly are where a professional crew earns its fee. Controlled hot-water pressure washing lifts grime that cold water and elbow grease can’t touch, without resorting to harsher chemicals, and it’s a technique eco-conscious operators pair with runoff control and filtration rather than letting it run into stormwater.
Professional crews also work bottom-up on slopes and steer clear of steel brushes for the same rust-staining reasons a careful homeowner would.
- Ask about pressure limits and whether they’re matched to your specific paver material
- Confirm how wastewater and runoff will be handled on site
- Check the cleaning products used are compatible with any existing sealer
- Verify insurance cover before booking a large job
Get a professional result without the guesswork
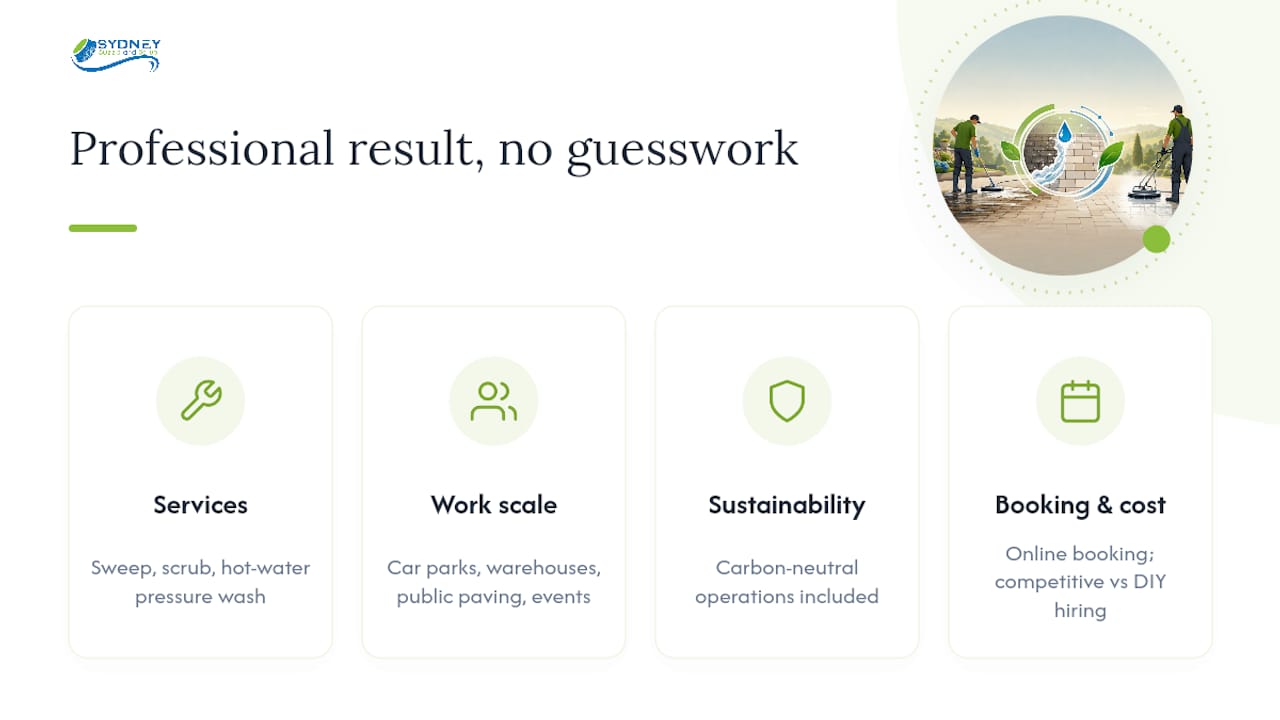
There’s a real gap between what a weekend with a hose and a bottle of degreaser can fix and what a genuinely stained, high-traffic paved area needs. Sweepandscrub closes that gap with mechanical sweeping, scrubbing and hot-water pressure washing built for exactly the jobs this article covers at scale: car parks, warehouse floors, public paving and event spaces where a DIY approach simply runs out of steam.
The equipment runs on carbon-neutral operations, so property managers ticking off sustainability commitments get that covered as part of the job, not as an add-on. Booking can be done online, and pricing aims to be competitive compared to the cost of hiring gear and spending a weekend on it yourself.
If your site fits that description, start with the hard surface cleaning page to see what’s involved, or look at how hot-water pressure washing handles the stubborn grime that cold water and scrubbing can’t shift. For paving that needs cutting or structural repair rather than cleaning, Vic Sawing is a specialist worth talking to as well.
Sources
- How to clean your driveway, patio and pavers — Karcher Australia
- Cleaning paving stones — STIHL Australia
- Industry guidelines for paver cleaning, sealing and joint stabilisation — Mutual Materials
- Guide to cleaning and maintaining concrete pavers — Architecture & Design