
Start with dry brushing to lift the loose salt crystals, flush the surface with clean water, and only reach for a dilute acid or trade-strength efflorescence cleaner if that combination fails. If the white bloom comes back within weeks of cleaning, stop treating the symptom. Recurring efflorescence almost always points to moisture still moving through the slab or wall, and no amount of scrubbing fixes that on its own.
Before you touch a wire brush, get two things sorted: protective gear and a test patch.
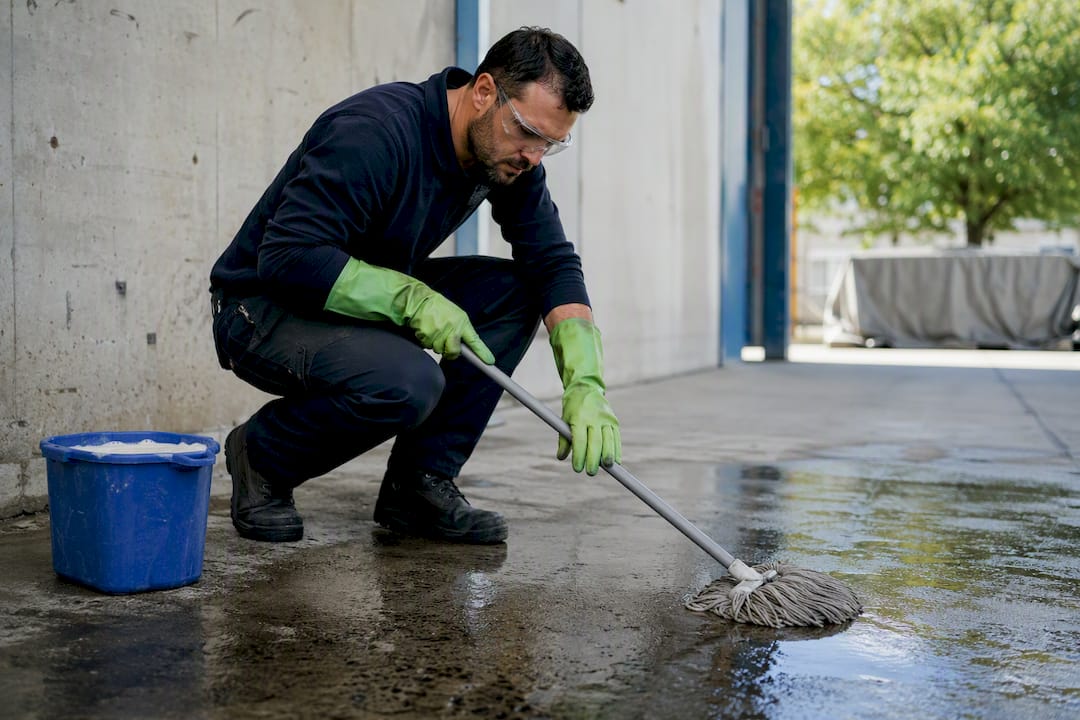
- Wear gloves and eye protection at minimum; add a respirator if you’re mixing any acid solution
- Test your chosen cleaning method on a small, inconspicuous section first and wait 24 hours before treating the whole area
- Have clean water and a neutralising agent on hand before you apply anything acidic
Key Takeaways
Concrete efflorescence removal works best as an escalating process: dry brush and vacuum first, rinse second, and reserve dilute acid or trade cleaners for deposits that survive both.
| Point | Details |
|---|---|
| Start dry, not wet | Dry brush and vacuum loose salts before introducing any water, to avoid driving salts deeper into the concrete. |
| Escalate gradually | Move from water rinse to pH-neutral cleaner to dilute acid (1% to 10%, lower for coloured concrete) only as needed. |
| Recurrence means moisture, not more cleaning | If efflorescence returns after a proper clean, check drainage, grading, and moisture content before treating again. |
| Seal only when dry | Use breathable penetrating sealers, not film-forming coatings, and confirm moisture content is within range first. |
| Professional help for scale or risk | Sweepandscrub offers containment, moisture testing, and neutralisation for jobs beyond a small DIY patch. |
Table of Contents
- What causes efflorescence and how does concrete efflorescence removal actually work?
- What tools and PPE do you need before starting?
- How do you remove efflorescence from concrete step by step?
- Is the efflorescence cosmetic or a sign of active moisture ingress?
- What stops efflorescence from coming back?
- When should you call in a professional cleaner?
- How Sweepandscrub handles efflorescence and hard-surface staining
- What Sydney facility managers should do next
- Sources
What causes efflorescence and how does concrete efflorescence removal actually work?
Efflorescence forms when water inside concrete or masonry dissolves soluble salts, usually calcium hydroxide, and carries them to the surface. The water evaporates, the salts don’t, and you’re left with that chalky white or grey film. On freshly poured concrete this is often just a curing byproduct and it’s largely cosmetic. On a wall or slab that’s been standing for years, though, recurring efflorescence signals active moisture movement that can eventually contribute to carbonation or sulphate attack if it’s never addressed.
That distinction matters for how you approach the job. A one-off bloom on new concrete responds well to basic mechanical removal. A patch that keeps returning on the same wall every time it rains needs a moisture diagnosis before you spend another weekend scrubbing it.
The standard industry term for this whole process is efflorescence remediation, and it covers everything from a five-minute brush-off to a full acid wash with neutralisation. Both terms describe the same job. We’ll use them interchangeably through this guide.
What tools and PPE do you need before starting?
Kit up properly and the job goes faster with less risk of damage or injury.
- Stiff nylon or natural-bristle brush (never wire brush on decorative or coloured concrete)
- Plastic scraper for stubborn crusted patches
- Wet vacuum to lift dislodged salt before it redissolves
- Low-pressure washer (under 2,000 PSI) with a fan tip, not a pinpoint nozzle
- pH-neutral efflorescence cleaner, or muriatic/hydrochloric acid diluted to somewhere between 1% and 10%, depending on the surface
- Containment sheeting or bunding to stop run-off entering stormwater drains, plus bicarbonate of soda or lime to neutralise spent acid
For most driveways and paths, a pH-neutral proprietary cleaner handles the job without any acid at all. Save the acid dilutions for stubborn carbonate crusts that won’t shift with brushing and water alone.
Pro Tip: Mix acid into water, never the other way round. Adding water to concentrated acid can cause a violent, splashing reaction that puts acid straight onto your skin or into your eyes.
How do you remove efflorescence from concrete step by step?
The safest approach moves from the gentlest method to the most aggressive, and you stop as soon as the surface is clean. Skipping straight to acid because it seems faster usually causes more problems than it solves.
1. Dry brush and vacuum first. This is the step almost everyone skips, and it’s the one that matters most. Scrub the powdery salt deposits off with a stiff dry brush, then vacuum the residue rather than hosing it away immediately. Introducing water before the loose salts are removed can redissolve them and drive them deeper into the concrete’s capillaries, which is exactly the mechanism behind what tradies call the “rebound effect”: efflorescence that returns worse than before because the wash pushed salts further into the pores instead of removing them.
2. Flush with clean water. Once the loose salt is gone, rinse with a garden hose or low-pressure washer to lift any remaining fine residue, then re-brush while the surface is damp. For a lot of jobs on new concrete, this two-step combination is genuinely all you need.
3. Escalate to a dilute acid wash only if the stain persists. Pre-wet the surface with clean water first, this stops the acid soaking in unevenly and etching the surface. Acid concentrations for general concrete typically run 1% to 10%, but integrally coloured concrete needs the lowest end of that range, closer to 1% to 2%, to avoid stripping colour along with the salt deposits. Apply to a small test section, give it a few minutes of contact time, scrub, then rinse thoroughly and neutralise the run-off with bicarbonate of soda before it goes anywhere near a drain.
Multiple light acid washes produce a better, more even result on coloured concrete than one strong wash, because a single aggressive application is much harder to control and more likely to etch the surface unevenly. If you’re working on a plain grey slab with no colour additive, a slightly stronger single wash is more forgiving.
4. For insoluble carbonate crusts, consider mechanical removal. Some efflorescence deposits have converted to calcium carbonate, which doesn’t respond to acid the way fresh salt bloom does. Light abrasive blasting or professional hydro-jetting can shift these crusts, but expect a texture change afterwards. You may need to grind or re-trowel the surface to match the surrounding finish, and this is not a job to improvise with a hired pressure washer on a Saturday afternoon.
5. Match your cleaner to the substrate. Acid-sensitive materials, natural stone, some pavers, certain polished finishes, need an alkaline or proprietary efflorescence remover instead. Check the manufacturer’s technical datasheet before you apply anything you haven’t used on that surface before.
A rushed pressure wash is the single most common way property managers turn a cosmetic problem into a structural one. If you’re unsure which nozzle or pressure setting suits your surface, pressure washing techniques that avoid etching are worth understanding before you start, and it’s just as easy to make the situation worse through common application errors as it is to fix it.
Is the efflorescence cosmetic or a sign of active moisture ingress?
This is the question that decides whether you’re finished or just getting started. If the bloom returns after a proper clean, the moisture source hasn’t been fixed, full stop. Check these before you write the job off as solved:
- Recurrence pattern: does it come back after every rain event, or only after a specific season?
- Location: is it concentrated near ground level, around a downpipe, or below a garden bed that’s graded toward the wall?
- Moisture meter reading: a substrate should generally read below 10% moisture content before you seal or paint over it
- Plastic sheet test: tape a sheet of clear plastic over a small area for 24 hours; condensation underneath means moisture is actively moving through
- Grading and drainage: soil sloped toward the foundation, blocked downpipes, or a leaking irrigation line are the usual culprits
Industry commentary consistently flags the rebound effect as the reason DIY jobs fail: people treat the salt and never touch the water source, so the same problem shows up again in six weeks. If your moisture meter readings are inconsistent or the plastic sheet test comes back wet every time, that’s when you commission a proper vapour transmission test and a structural inspection rather than buying another tub of cleaner.
What stops efflorescence from coming back?
Prevention comes down to two things: managing where water goes, and choosing the right sealer once the surface is genuinely dry.
- Breathable penetrating sealers, silane or siloxane-based products, let residual vapour escape while still resisting water ingress from outside. These are the right call for most efflorescence-prone surfaces.
- Film-forming coatings sit on top of the concrete and can trap moisture underneath. Sealing over damp concrete with a non-breathable film often makes the problem worse, pushing salts to find another exit point or blistering the coating itself.
- Timing matters. Confirm moisture content is within the sealer manufacturer’s stated range before you apply anything, and allow the full cure period the technical datasheet specifies rather than the minimum.
- Fix the water pathway. Re-grade soil away from foundations, clear blocked downpipes, and add a vapour barrier under new slabs where ground moisture is a known risk.
- Get the mix right at construction stage. A lower water-to-cement ratio, the addition of pozzolans like fly ash, and proper curing all reduce the porosity that lets water carry salts to the surface in the first place. Specifying this correctly during a pour is cheaper than fighting efflorescence for the next decade.
Pro Tip: If you’re unsure whether a sealer is breathable, check the product’s technical datasheet for a vapour transmission rate. A genuinely breathable sealer will list one; a film-forming product usually won’t mention it at all.
When should you call in a professional cleaner?
Some efflorescence jobs are a weekend task. Others need equipment, containment, and experience that DIY simply can’t match.
- Area size. Anything beyond a few square metres of driveway or wall starts eating serious hours in dry brushing alone.
- Recurrence. If you’ve cleaned the same patch twice already, a professional moisture assessment will save you a third attempt.
- Damage risk. Coloured, stamped, or polished concrete has a low margin for error with acid or abrasive methods.
- Confined spaces or heights. Basement car parks, retaining walls, and multi-storey building faces carry hazards that need proper access equipment and trained operators.
A professional cleaning contractor should offer controlled application methods, on-site moisture testing, contained run-off collection so acid wash water doesn’t hit stormwater drains, proper neutralisation, and a written report of what was found and treated. Before booking, ask for evidence of insurance, safety data sheet handling procedures for any chemicals used, and how they contain and dispose of waste water.
How Sweepandscrub handles efflorescence and hard-surface staining
Sweepandscrub is a family-owned operation specialising in mechanical cleaning and pressure washing for hard surfaces across warehouses, car parks, construction sites, and public spaces. Efflorescence jobs sit squarely inside that scope.
- Controlled, graduated cleaning methods rather than a single aggressive pass that risks etching or colour loss
- Eco-friendly, carbon-neutral operations with proper containment and disposal of wash water
- Online booking for quotes, so you’re not chasing a callback for a straightforward site assessment
- A typical job includes an initial moisture and surface assessment, mechanical or chemical treatment matched to the substrate, and a clean, dry result ready for sealing if needed
For a car park or warehouse floor showing bloom across multiple bays, a site visit and quote through the hard-surface cleaning service is a faster path to a lasting fix than repeat DIY attempts.
What Sydney facility managers should do next
If you’ve read this far and the efflorescence on your site is more than a small patch, or it’s already come back once, that’s usually the point where DIY stops being the efficient option. Sweepandscrub exists for exactly that gap: a Sydney-based crew with industrial-grade equipment that treats efflorescence removal as one part of a broader hard-surface maintenance job, not a one-off chemical wash.
What makes the difference for property and facility managers specifically is the containment and reporting side of the job. Run-off from acid washes has to go somewhere, and on a commercial site with stormwater obligations, that’s not something to improvise with a garden hose and a bucket of bicarb. Sweepandscrub’s crews handle containment and neutralisation as standard, then hand over a record of what was treated and how, which matters if the same building manager is fielding questions from strata or ownership later.
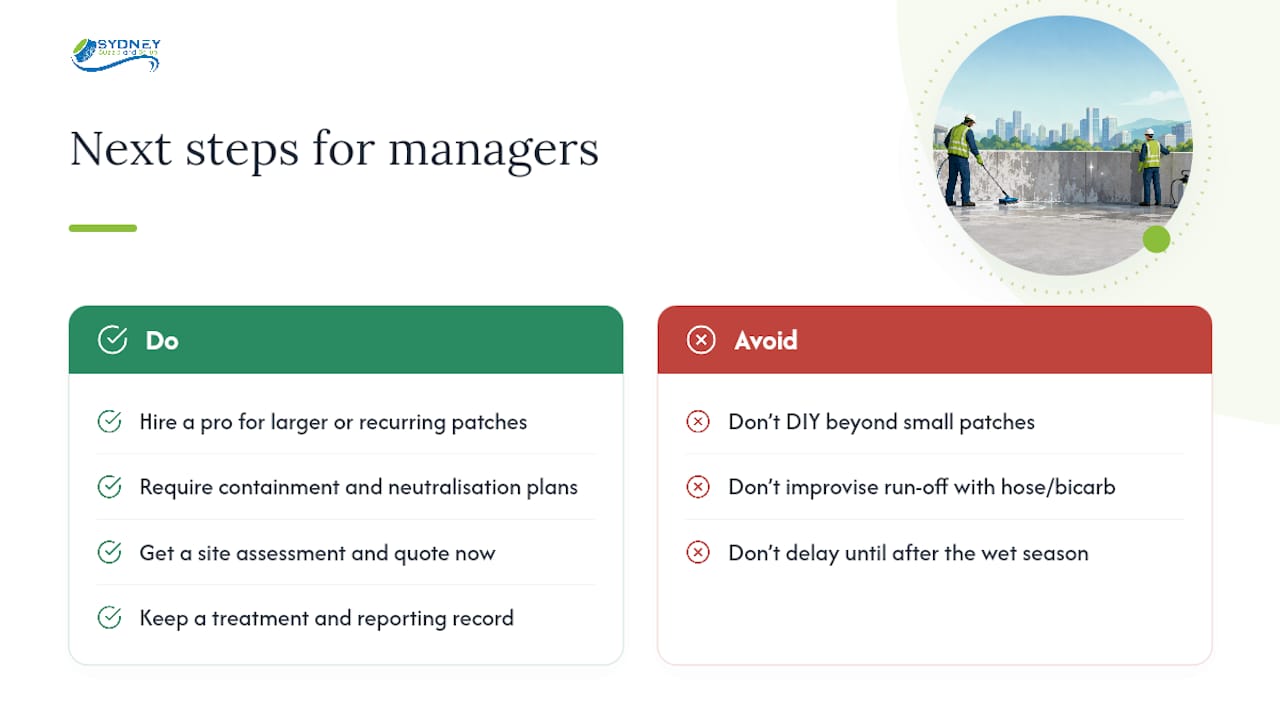
If you’re weighing up whether your car park, loading dock, or forecourt needs a professional pass, request a quote for hard-surface cleaning and get a site assessment booked before the next wet season pushes more moisture through the slab.
Sources
- Master Builders Queensland — Efflorescence technical information
- ConcreteNetwork — How to remove efflorescence
- Actichem — How to remove efflorescence
Check the manufacturer’s safety data sheet and technical datasheet for any cleaning product before mixing or applying it on site.
Recommended
- Post-Event Cleaning: Concrete Surfaces – Sydney Sweep and Scrub – Commercial Cleaning – Carpark Cleaning – Warehouse Cleaning
- Tips on Cleaning Your Concrete Event Space – Sydney Sweep and Scrub – Commercial Cleaning – Carpark Cleaning – Warehouse Cleaning
- Post-Construction Concrete Cleaning – Sydney Sweep and Scrub – Commercial Cleaning – Carpark Cleaning – Warehouse Cleaning
- Cleaning Your Concrete Before Line Marking – Sydney Sweep and Scrub – Commercial Cleaning – Carpark Cleaning – Warehouse Cleaning